
Getting Started
Create your account, set up your first hub, connect social accounts, and create your first content calendar with the three-step onboarding wizard.
Creating Your Account
Open the Sign up page and choose how you want to sign in. YSH is passwordless — pick any of:
- Google — sign in with your Google account.
- Facebook — sign in with your Facebook account.
- Magic link — enter your email address and click Send Magic Link. Check your inbox and follow the link to sign in.
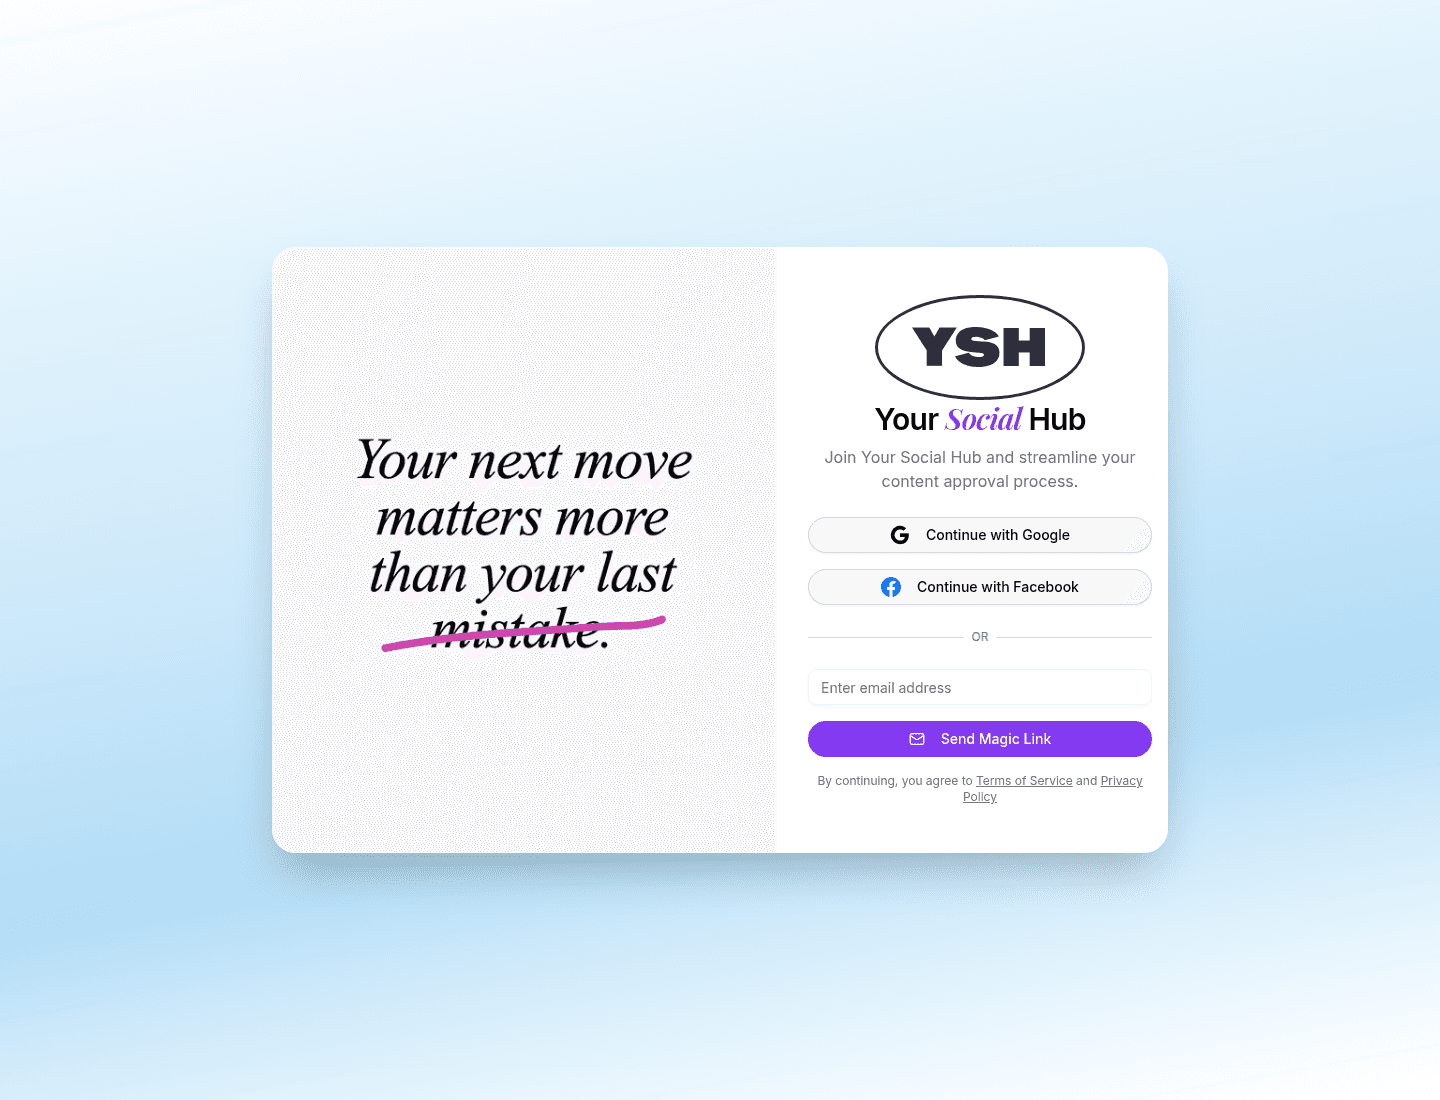
Signing in later works the same way from the Sign in page, with the same three options.
The Onboarding Wizard
After your first sign-in, YSH walks you through a three-step setup: Create Hub → Social Accounts → Content Calendar.
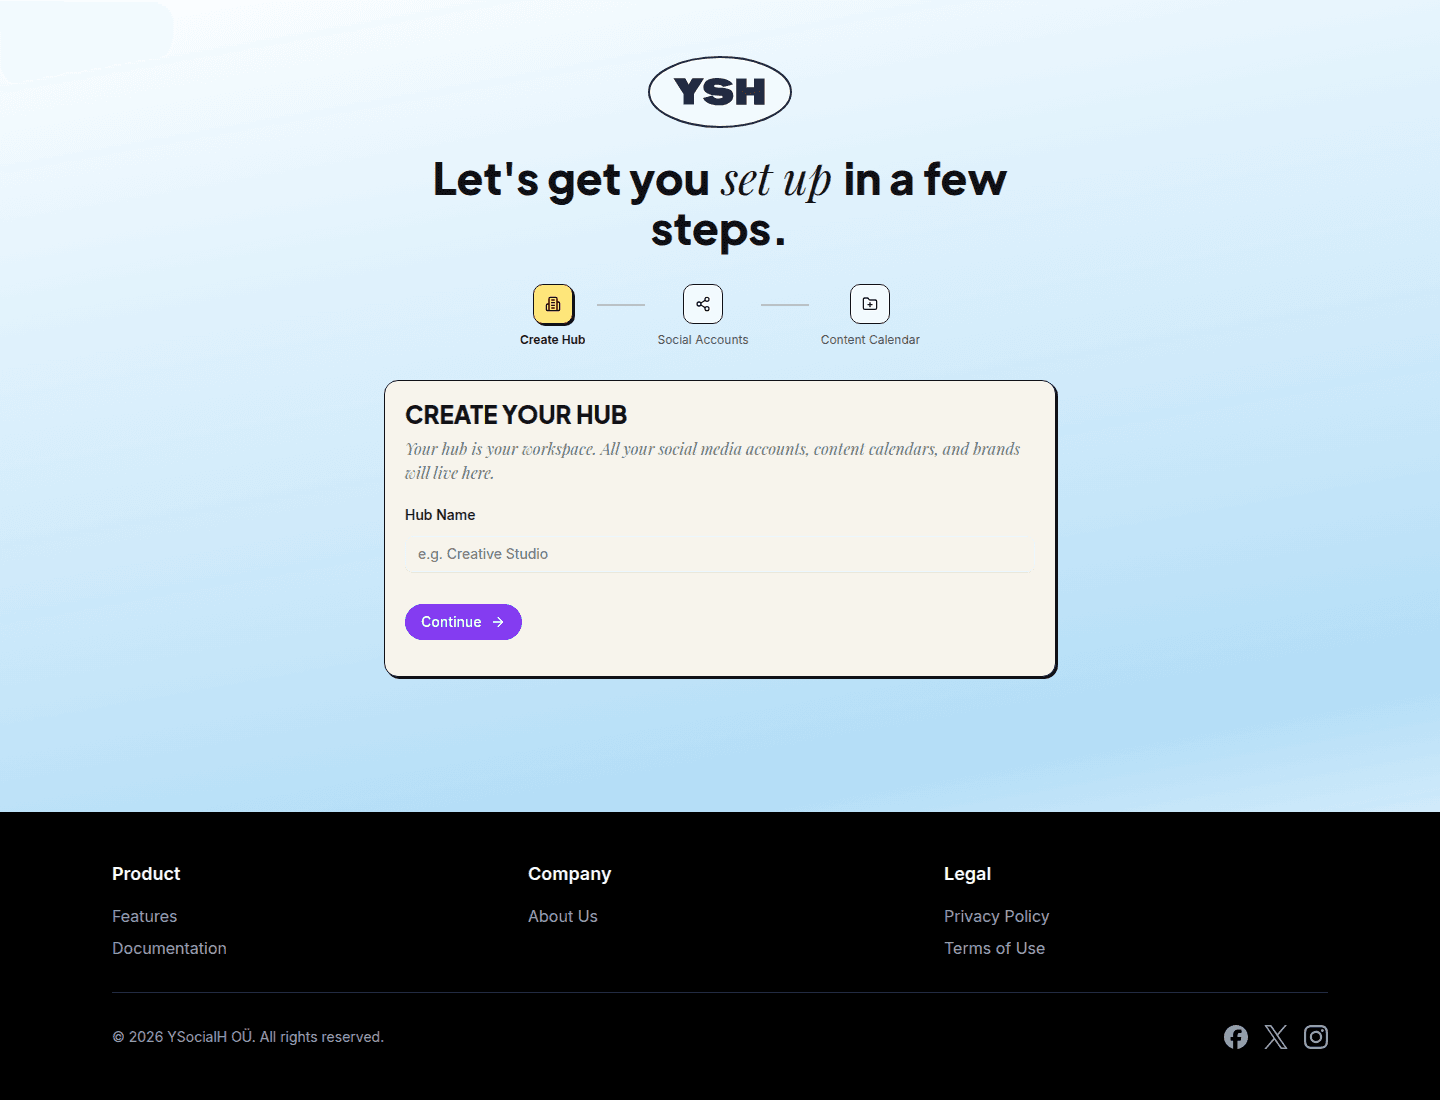
Step 1 — Create Your Hub
Your hub is your workspace — social media accounts, content calendars, and content all live here. Enter a hub name (for example, your studio or brand name) and click Continue.
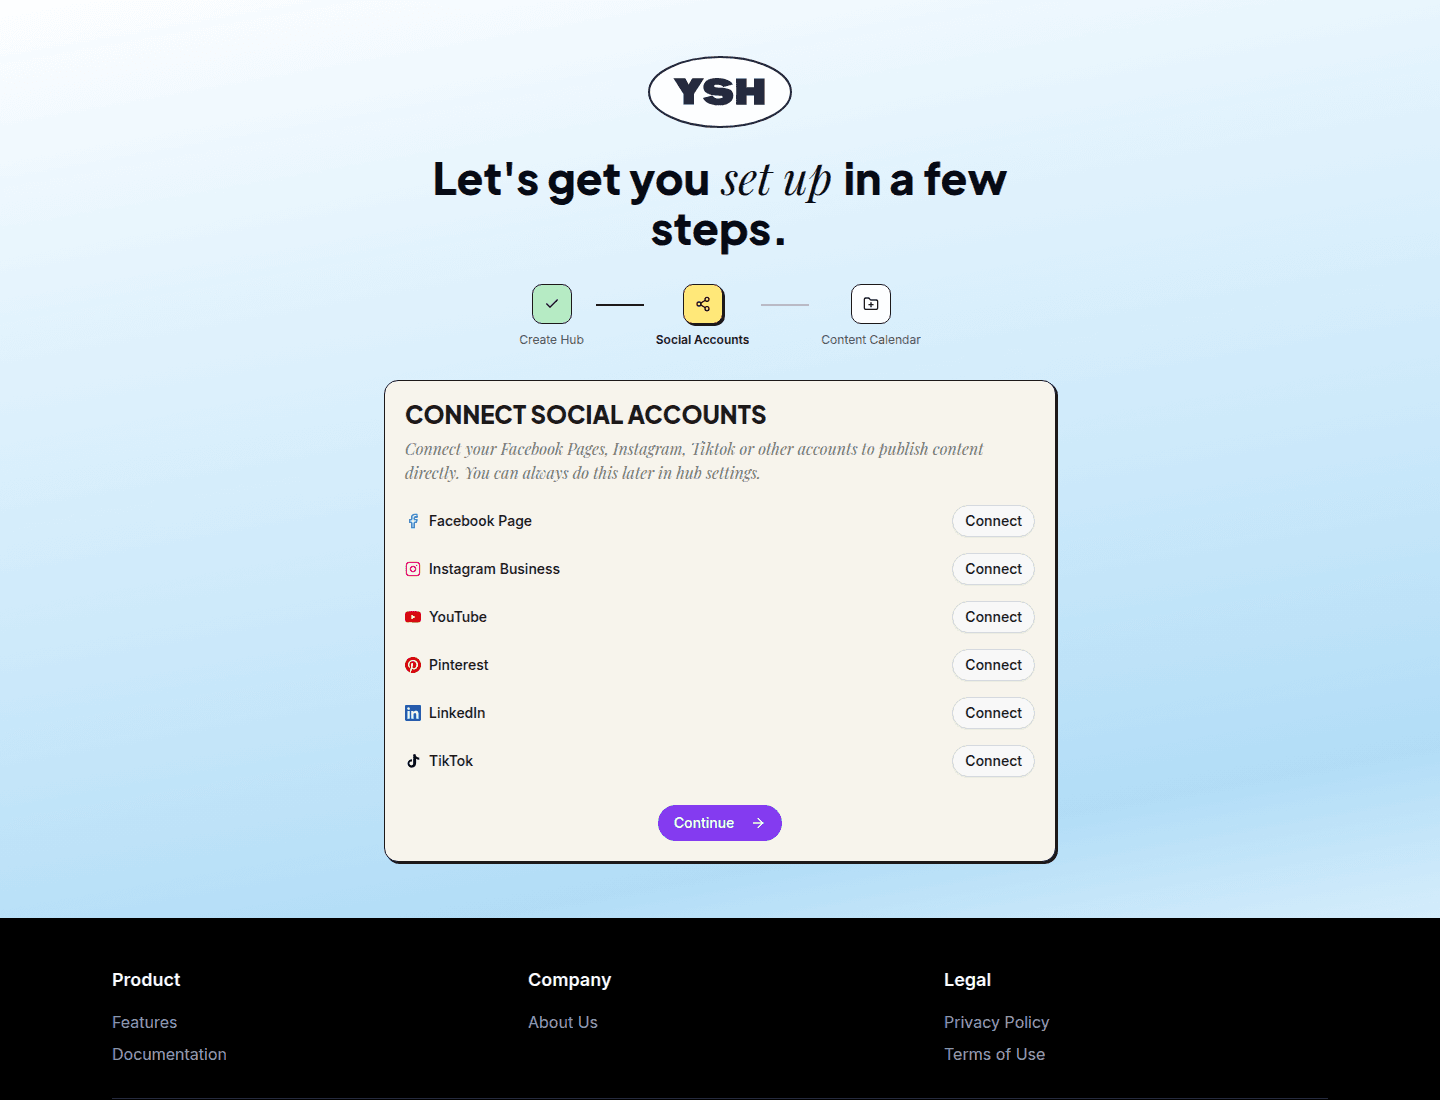
Step 2 — Connect Social Accounts
Connect the accounts you publish to: Facebook Pages, Instagram Business, TikTok, and more. Each platform opens its own authorization dialog.
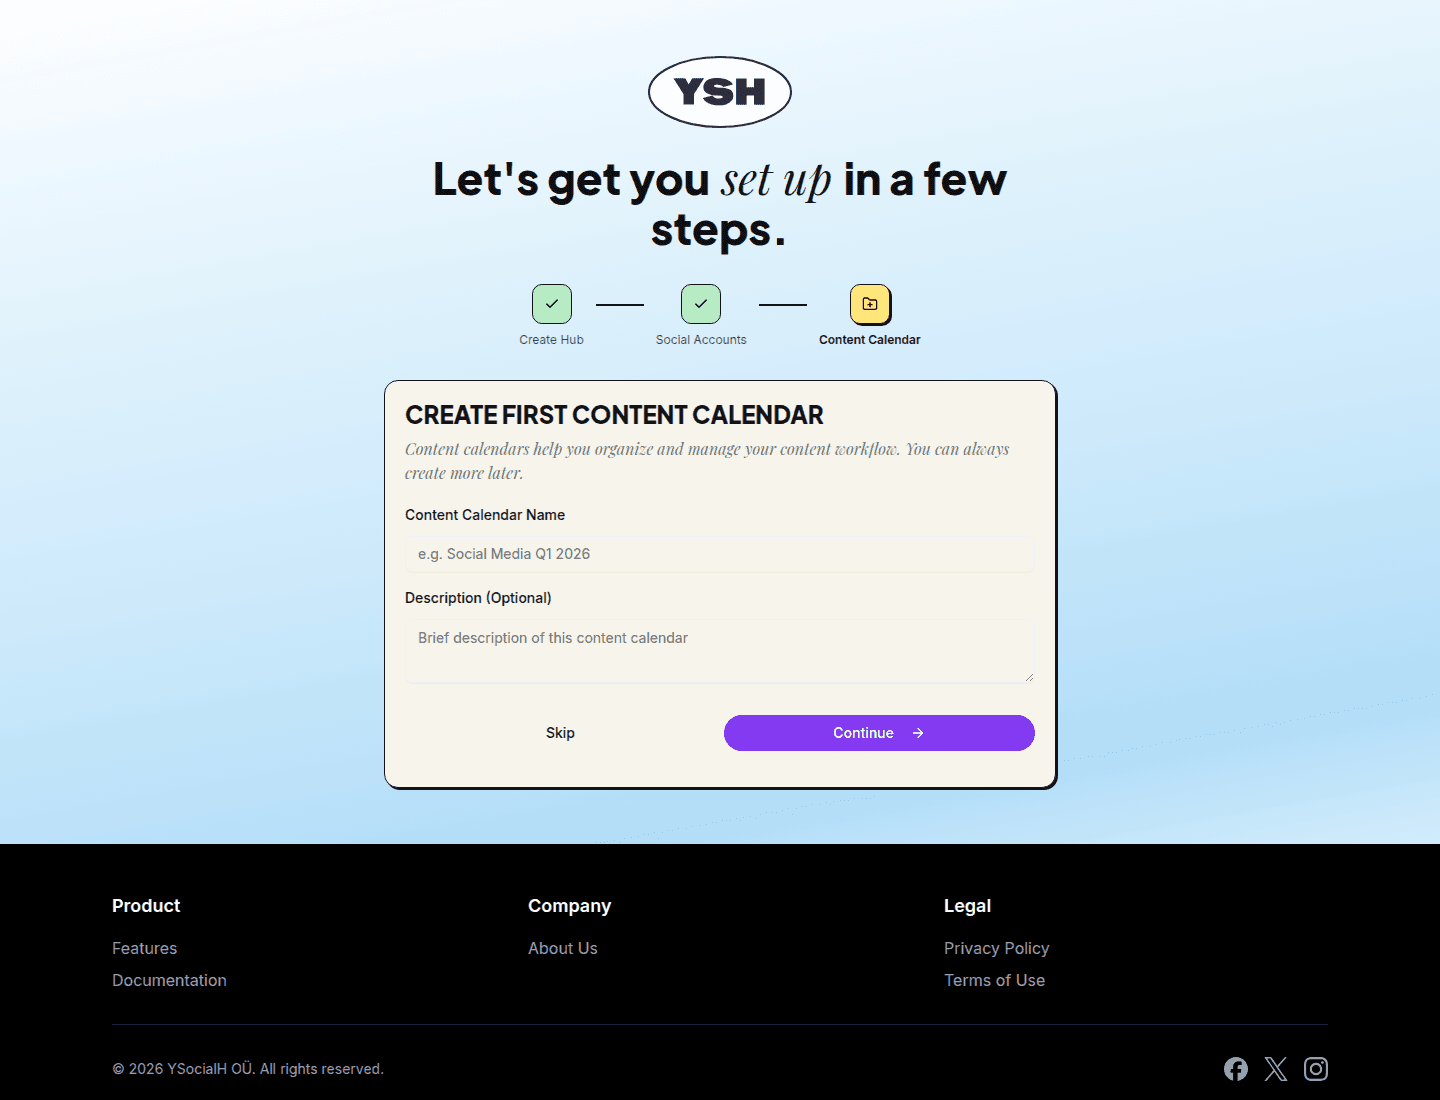
Step 3 — Create Your First Content Calendar
Content calendars organize your content workflow. Give the calendar a name (for example, "Social Media Q1") and an optional description, then click Continue — or Skip to do it later.
After the wizard you land in your new content calendar, ready to create content.